How To Make A Course Active In Brightspace
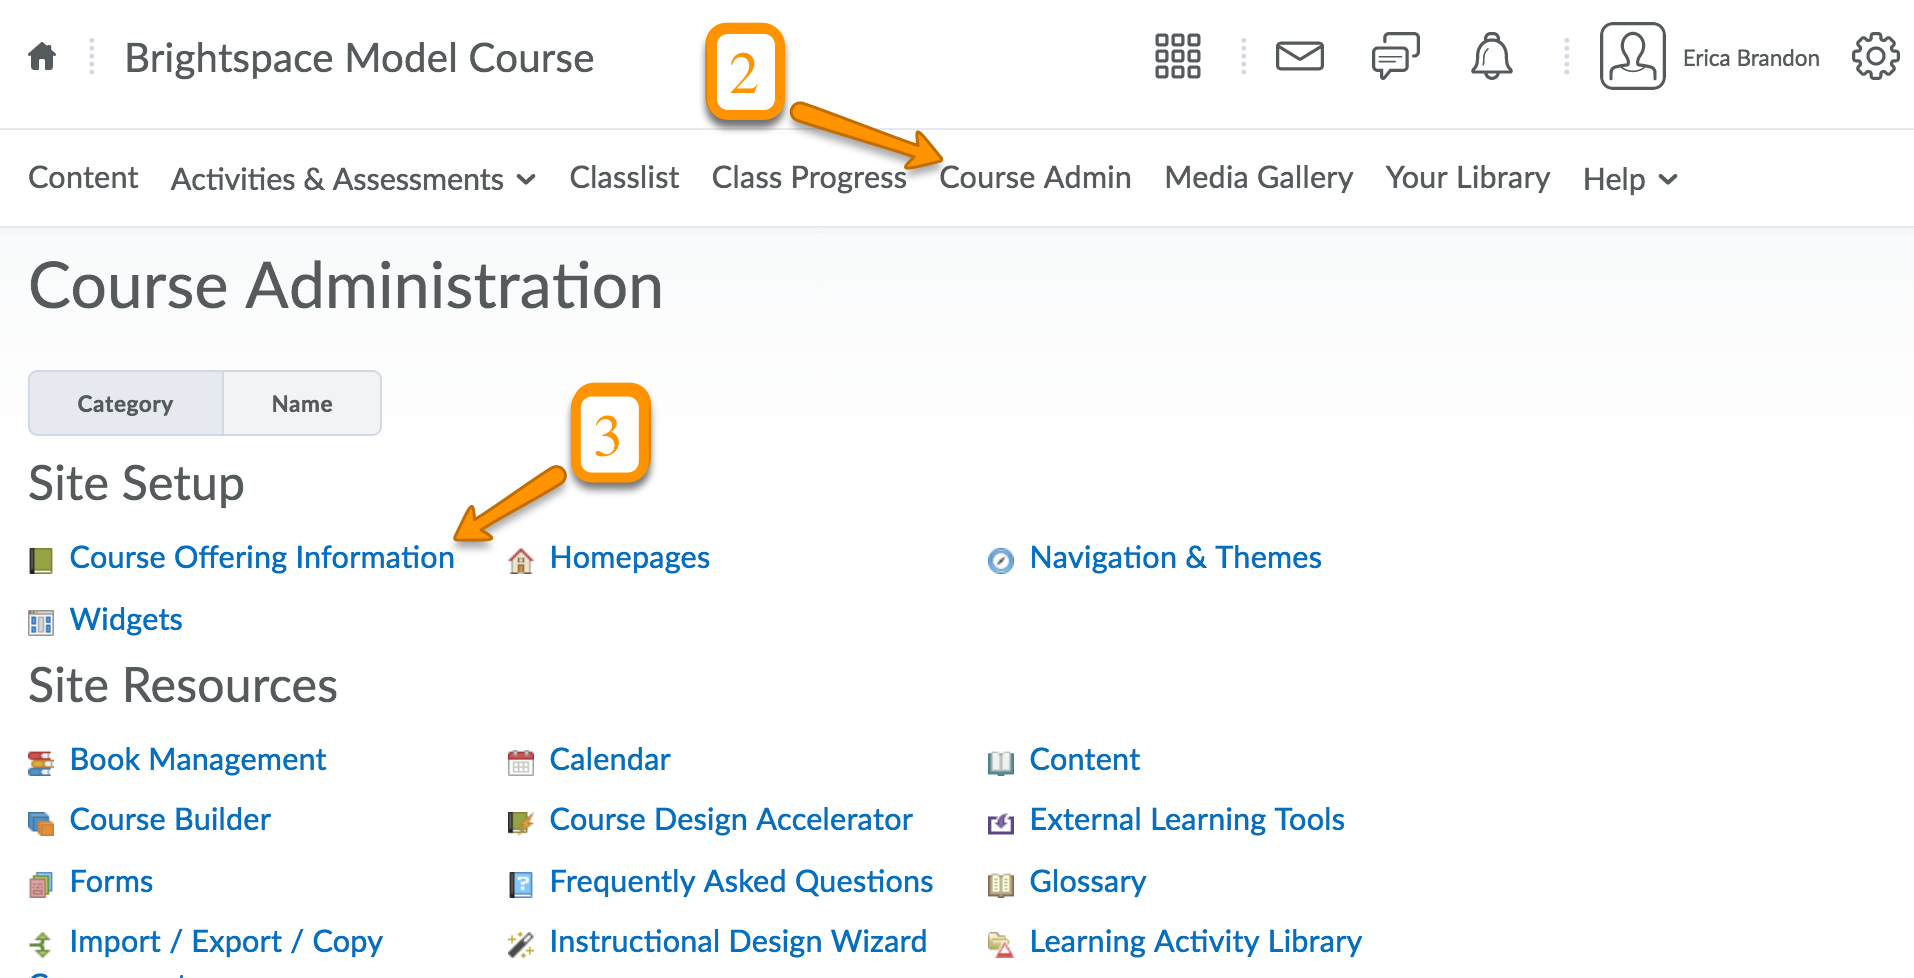
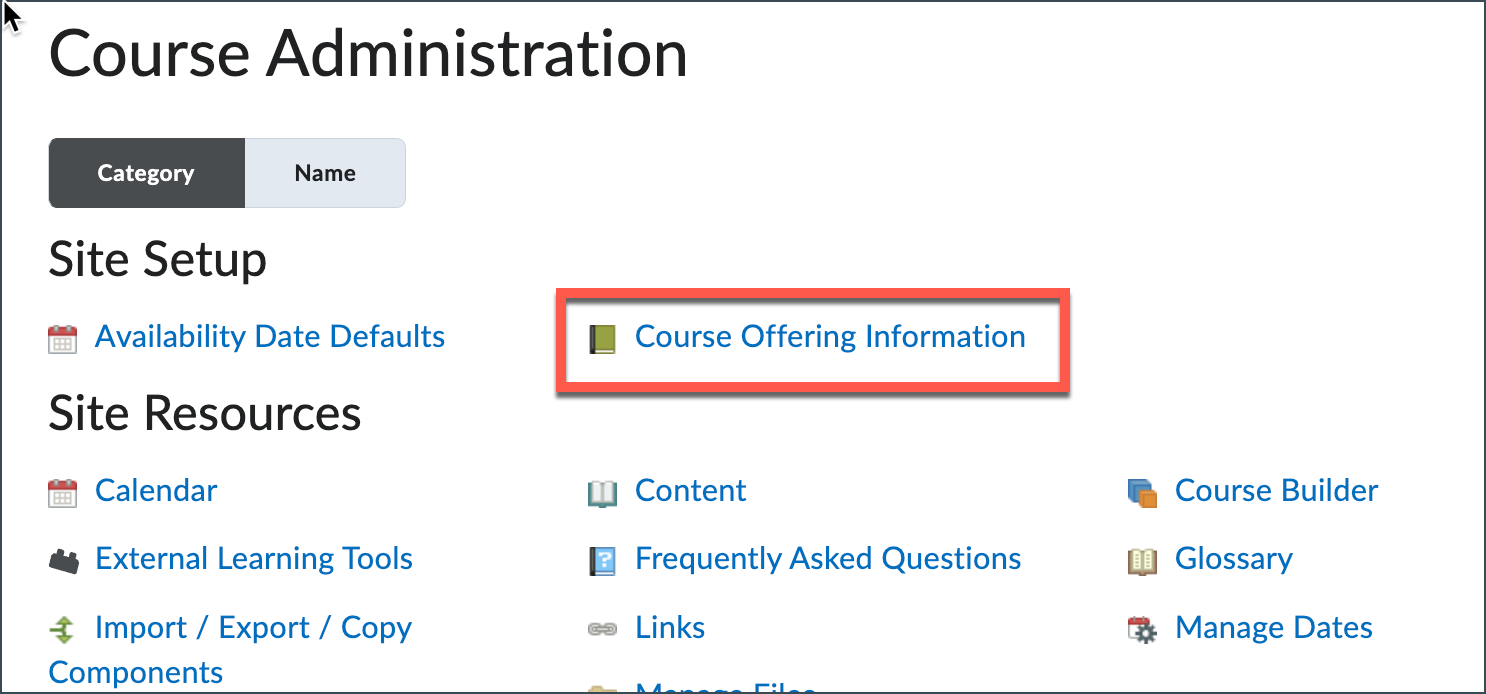
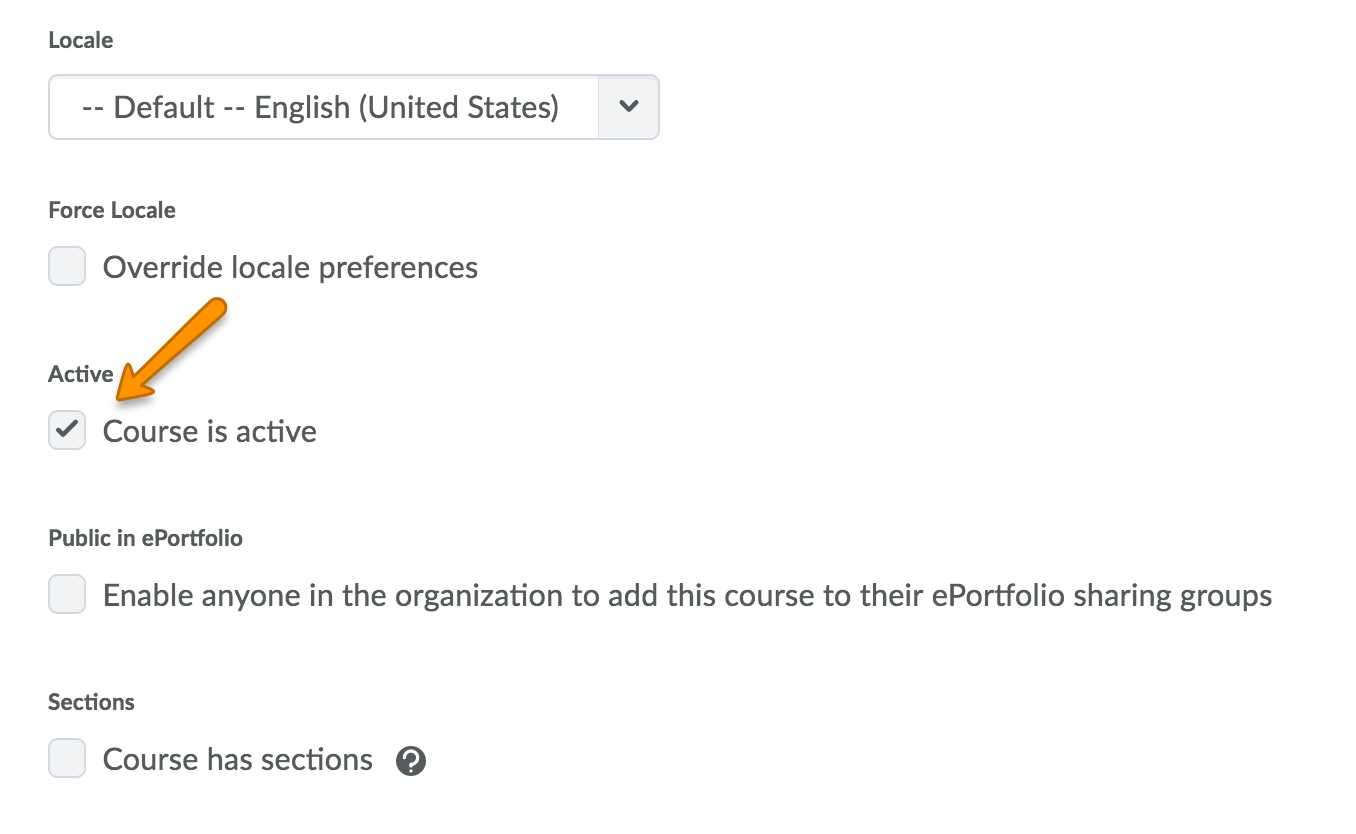
How To Make A Course Active In Brightspace - To make a course active or inactive: This is a brief tutorial on how to make your course active in brightspace. Directions for faculty on how to make a brightspace course active or inactive. This video shows how to make courses active or available in brightspace.contents of this video: Your brightspace course sites are not available to students by default as soon as they are created. How to set a course active/ inactive. From your organization homepage, use the course selector to search for and open the course you want to activate. This will allow students to access all the materials and course pages. This article provides the steps on how to make it. For students to be able to access your course or module, you must activate it. By default, brightspace courses are not available to students until instructors make them available, or “active.” when a course is ready to be activated for students, go into the course:. Instructors can control access to their d2l brightspace courses by making the course active (available to students) or inactive (unavailable to students). From your organization homepage, use the course selector to search for and open the course you want to activate. This is a brief tutorial on how to make your course active in brightspace. To make your course available to students, you need to activate it. From the course offering information page, scroll down to. The following article details how to make your brightspace course active, as well as the steps required to change the course's dates. For students to be able to access your course or module, you must activate it. Log into brightspace and navigate to the course for which you would like to do the settings. Click onto course tools and select course admin. This video shows how to make courses active or available in brightspace.contents of this video: Navigate to course admin > course offering information. On your brightspace homepage, click on the course settings button (ellipses icon) in my courses. From the course offering information page, scroll down to. Making your rightspace ourse active as you begin teaching in brightspace, you may. This will allow students to access all the materials and course pages. This is a brief tutorial on how to make your course active in brightspace. This article provides the steps on how to make it. Make your course available and active. To make your course available to students, you need to activate it. To make a course active or inactive: From their course navbar select course admin. After you have the permissions, you can choose to control learner access to your course. Under the site setup page header choose course offering. This will allow students to access all the materials and course pages. This will allow students to access all the materials and course pages. The following article details how to make your brightspace course active, as well as the steps required to change the course's dates. Click onto course tools and select course admin. To make a course active or inactive: Make your course available and active. From your organization homepage, use the course selector to search for and open the course you want to activate. Under the site setup page header choose course offering. Click onto course tools and select course admin. Log into brightspace and navigate to the course for which you would like to do the settings. Navigate to course admin > course offering. On your brightspace homepage, click on the course settings button (ellipses icon) in my courses. Learn how to make a course active for students to have access. After you have the permissions, you can choose to control learner access to your course. Under the site setup page header choose course offering. From the course offering information page, scroll down to. Click onto course tools and select course admin. This is a brief tutorial on how to make your course active in brightspace. Not all suny campuses allow instructors to modify. To make your course active: Hover over a course tile in the “my course” widget and click on the three dots that appear and then click on “course offering information”. This is the equivalent of publishing a module on sulis. On your brightspace homepage, click on the course settings button (ellipses icon) in my courses. By default, brightspace courses are not available to students until instructors make them available, or “active.” when a course is ready to be activated for students, go into the course:. Your brightspace course sites are. To make your course active: Log into brightspace and navigate to the course for which you would like to do the settings. From the course offering information page, scroll down to. By default, brightspace courses are not available to students until instructors make them available, or “active.” when a course is ready to be activated for students, go into the. This video shows how to make courses active or available in brightspace.contents of this video: Under the site setup page header choose course offering. Click onto course tools and select course admin. To make a course active or inactive: This is a brief tutorial on how to make your course active in brightspace. Make your course available and active. Instructors can control access to their d2l brightspace courses by making the course active (available to students) or inactive (unavailable to students). To make a course active or inactive: Make your course available and active. From your organization homepage, use the course selector to search for and open the course you want to activate. Directions for faculty on how to make a brightspace course active or inactive. By default, brightspace courses are not available to students until instructors make them available, or “active.” when a course is ready to be activated for students, go into the course:. A set start date for your course alone. From their course navbar select course admin. This is a brief tutorial on how to make your course active in brightspace. Making your rightspace ourse active as you begin teaching in brightspace, you may notice that your course isn’t active and that students cannot access it. On your brightspace homepage, click on the course settings button (ellipses icon) in my courses. How to set a course active/ inactive. Learn how to make a course active for students to have access. Not all suny campuses allow instructors to modify. Under the site setup page header choose course offering.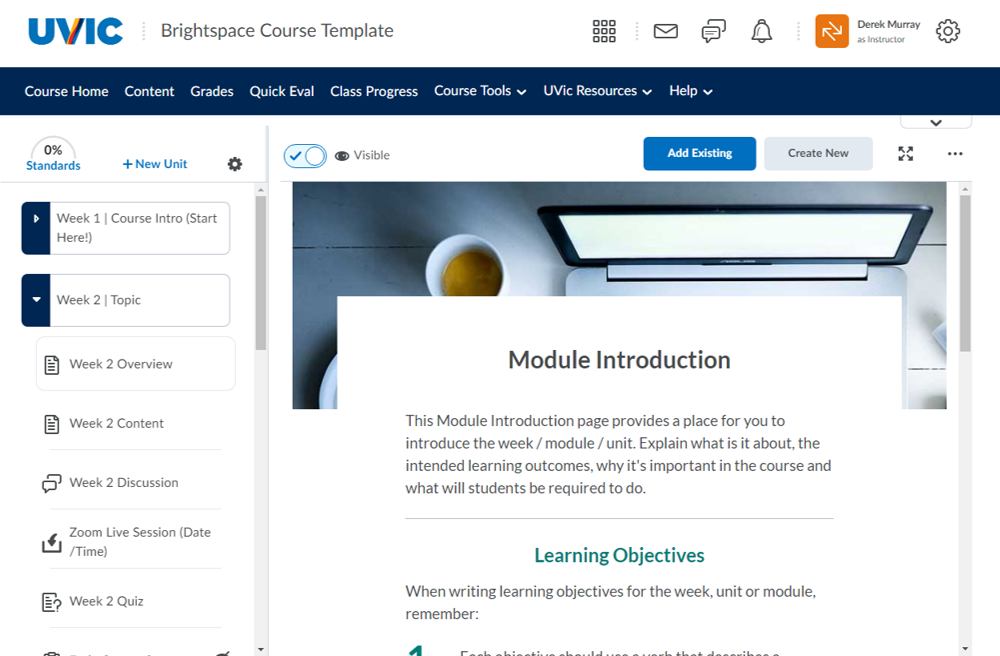
Fully customizable course template for Brightspace Teach Anywhere
Making the course active (visible to students) Brightspace Support
Brightspace Make Your Course Active (Available) for Students UVM
Build in Brightspace Division of Information Technology

How to Make sure your Course is Active in Brightspace D2L YouTube
Making the course active (visible to students) Brightspace Support
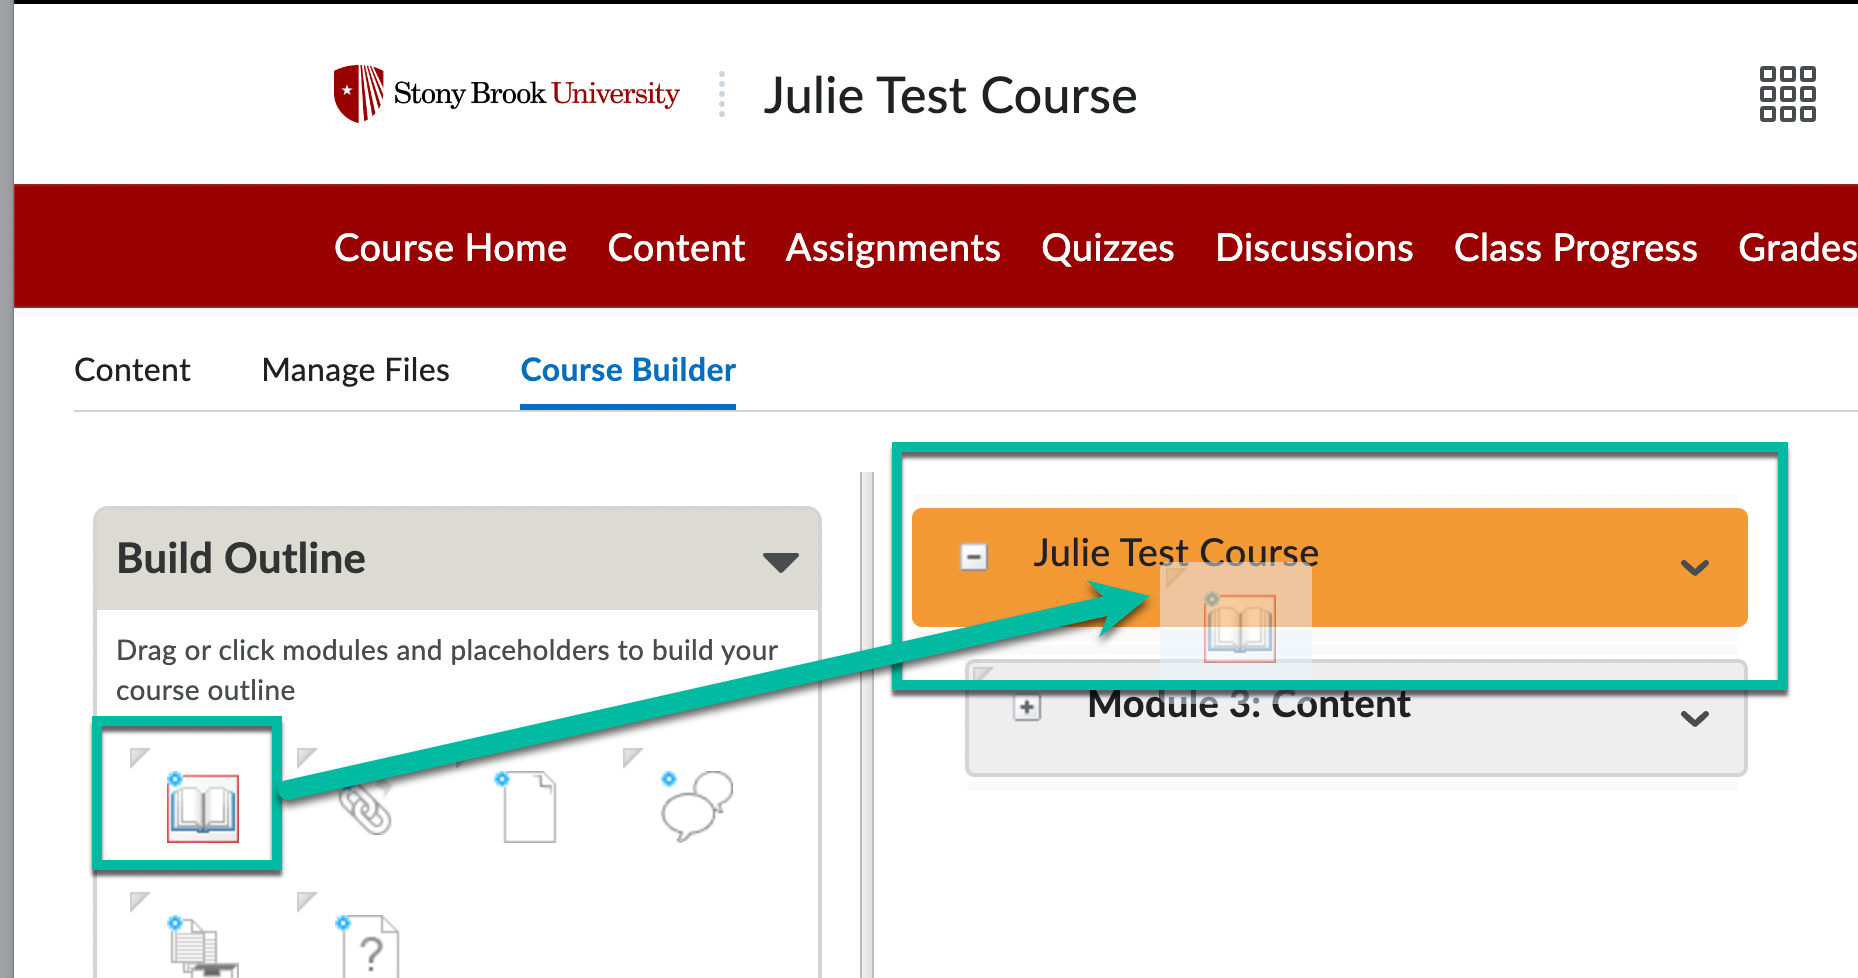
Brightspace Course Builder UVM Knowledge Base
Fully customizable course template for Brightspace Teach Anywhere
Fully customizable course template for Brightspace Teach Anywhere

Make Your Course Active in Brightspace for GECDSB Teachers YouTube
The Following Article Details How To Make Your Brightspace Course Active, As Well As The Steps Required To Change The Course's Dates.
Navigate To Course Admin > Course Offering Information.
This Will Allow Students To Access All The Materials And Course Pages.
This Is The Equivalent Of Publishing A Module On Sulis.
Related Post: